Site Prep
We highly recommend that you prep for your miniShed by installing a base on which to set your miniShed. A properly installed pad decreases ground shifting and helps moisture drain away. This maximizes your building's life. We will walk you through the steps below.
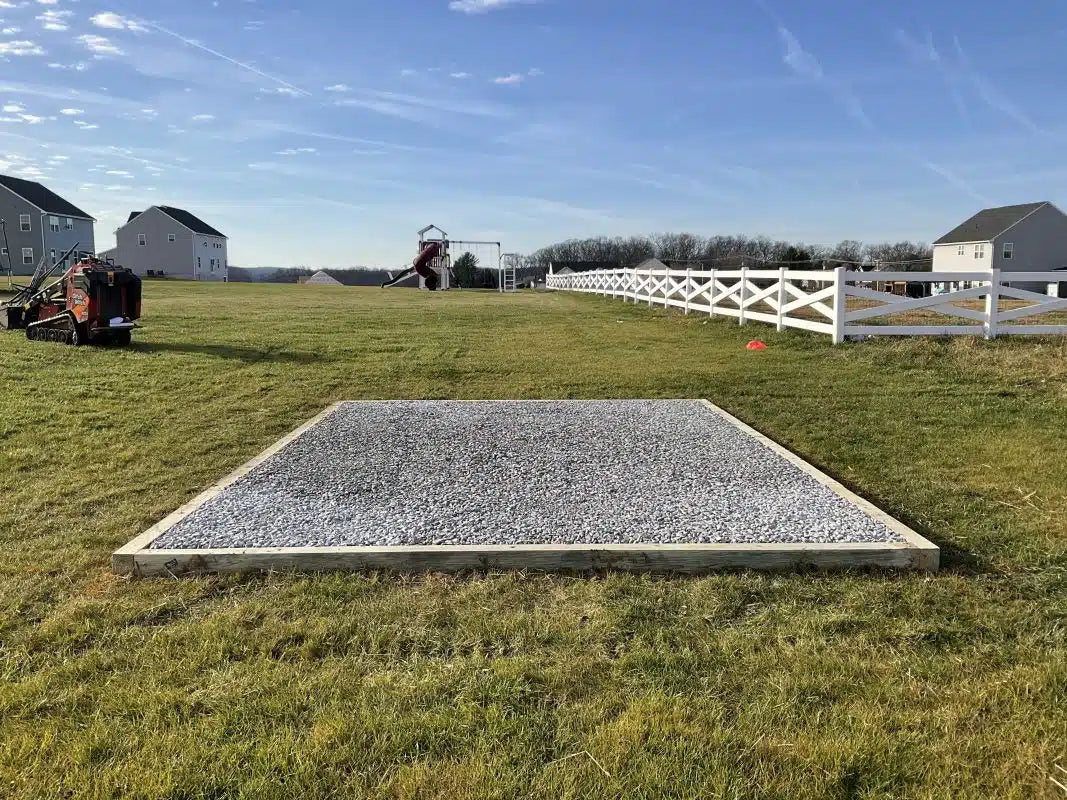
Photo credit: www.siteprep.com
First, you will need to decide which pad type you want to build. Here are several pad options you may want to consider:
- concrete pad
- pad built with patio blocks
- packed gravel pad
We actually think that preparing a level, packed gravel pad is the best and most economical option. This decreases ground shifting and helps moisture drain away, which ensures your miniShed's long life. It is important for your building pad to be level. This will prevent your shed from twisting (especially important for larger buildings), and keep your shed door and windows functioning properly.
- Ensure that your pad is 12 inches larger than the building size you ordered. An 8'x12' miniShed, for example, should get a pad size that is 9'x13' in size.
- Ensure that your pad is a minimum of 4-5 inches thick when packed. We recommend 5/8" or 3/4" limestone (also known as 5/8" down, or 3/4" down).
- For optimal results, pack your gravel with a packer. Walk behind packers can be rented at most equipment rental stores.
Note that these are general guidelines only. Consult with a local professional for optimal results.